RA Install for Mac™
Using Roast Architect on  Mac™ Computers - Installing Parallels
Although Windows is a requirement to install Roast Architect there is a way for Mac™ users to install the program on their computer via a Mac™ compatible program called Parallels which is available on the App Store. Currently Parallels requires an annual fee of $99 per year, though they currently permit a 2-week trial. Parallels is a third-party and not a subsidiary of Loring.
Hardware and operating systems must meet the following requirements for a Mac™ to be eligible for Parallels installation:
- Processor: Any Apple silicon chip (M1, M1 Pro, M1 Max, M1 Ultra, M2, M2 Pro, M2 Max, M2 Ultra, M3, M3 Pro, M3 Max, M4, M4 Pro, M4 Max).
- Memory: At least 4 GB of RAM.
- Storage: 600 MB for Parallels Desktop application installation, plus additional disk space for the guest operating system. At least 16 GB is required to install Windows OS.
- Graphics: Any Apple silicon chip.
- Operating System: macOS Sequoia 15.0 or newer, macOS Sonoma 14.0 or newer, macOS Ventura 13.4 or newer, macOS Monterey 12.6 or newer, macOS Big Sur 11.7 or newer, macOS Catalina 10.15.7 or newer, macOS Mojave 10.14.6 or newer.
You may install Parallels using the following steps:
- Navigate to the App Store on the computer that you would like to install Parallels and Roast Architect on.
- Within the App Store you will need to search for the app shown below and then select the Get button to the right of it.
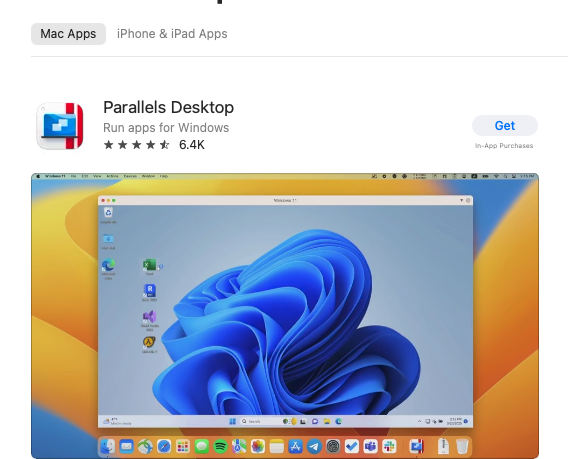
- The App Store may request that you verify your apple id and apple password before proceeding to download.
- Once the app has finished downloading from the App Store the button on its entry will switch from ‘Get’ to ‘Open.’ Clicking this button will launch setup for the app.
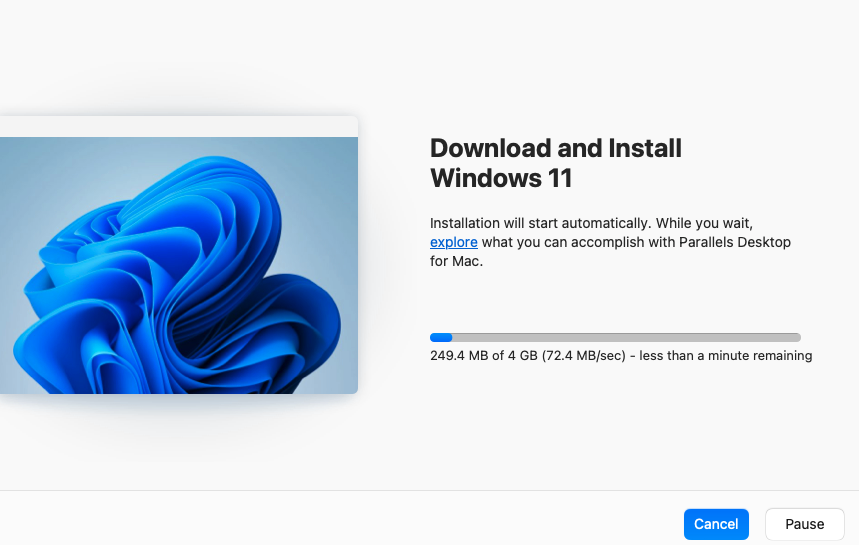
- The app will promptly begin installing Windows 11.
- Once Windows 11 has installed completely you can proceed to register an account with Parallels as shown below.
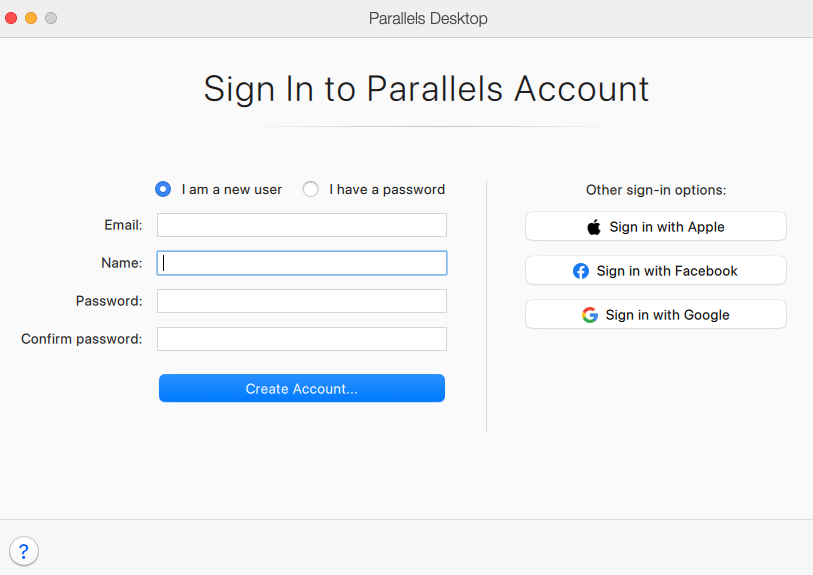
- Once you have finished providing information regarding your account you can select ‘Create Account’ and you will receive the following options.
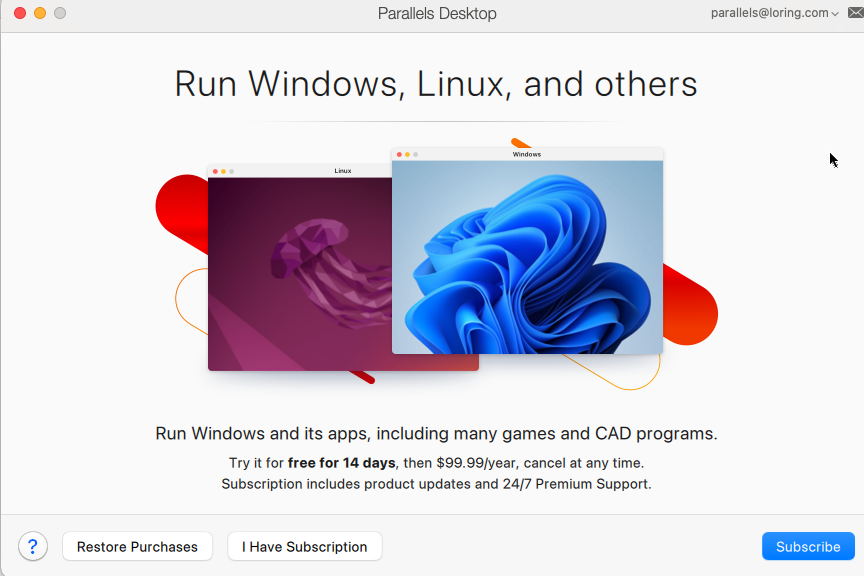
- If you are subscribing for the first time you will need to select the subscribe option listed at the bottom of the window. This will use the card that you already have on file for your Apple ID, but it will provide you with a two-week free trial. We would recommend that you note the date that this trial expires should you decide to cancel the membership before the trial period ends.
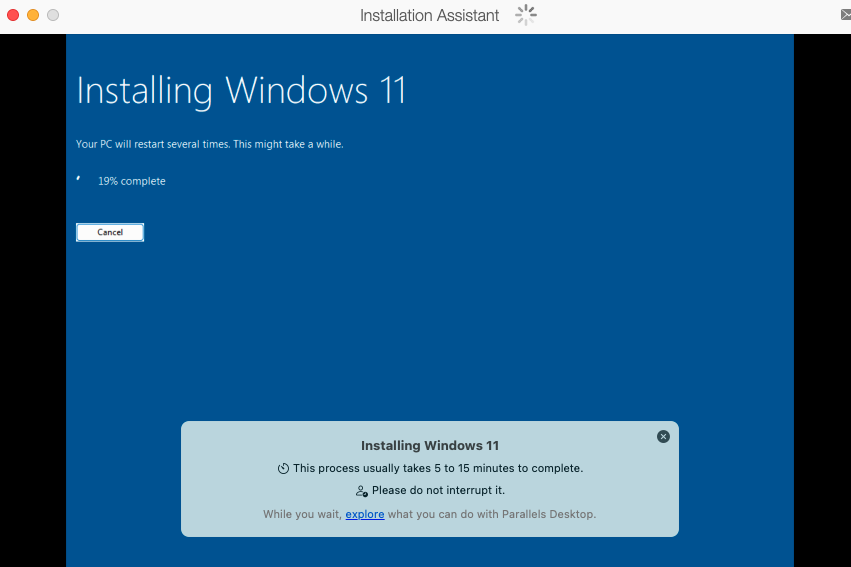
- Once the subscription is enabled Parallels should begin installing the Windows 11 operating system as shown below.
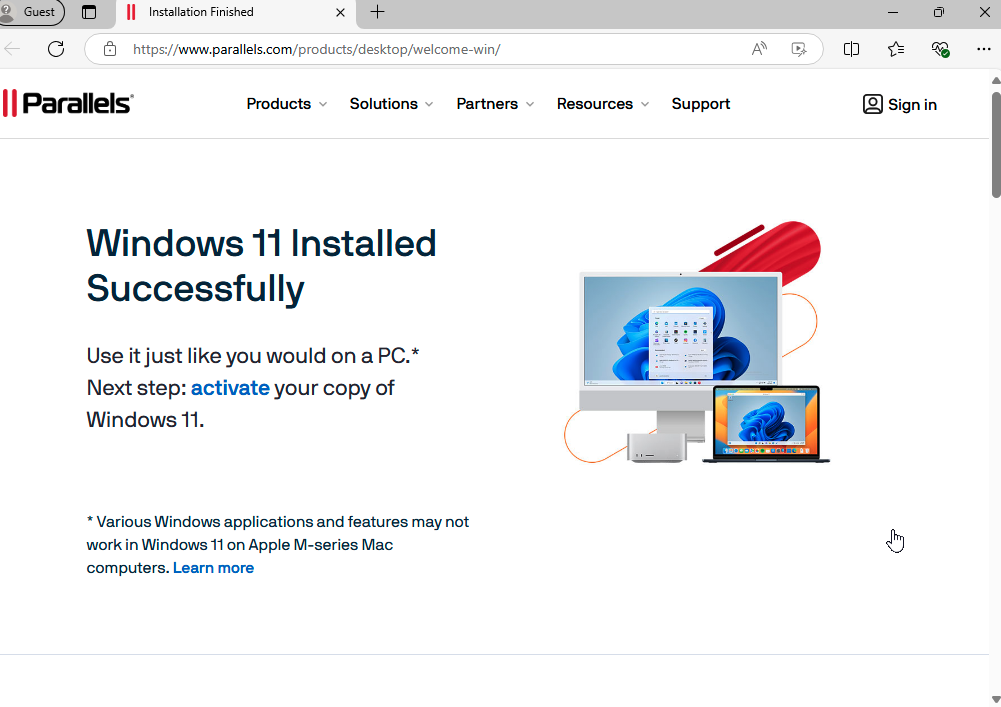
- Once you receive this message inside of Parallels that is a sign that you have successfully installed Windows within Parallels
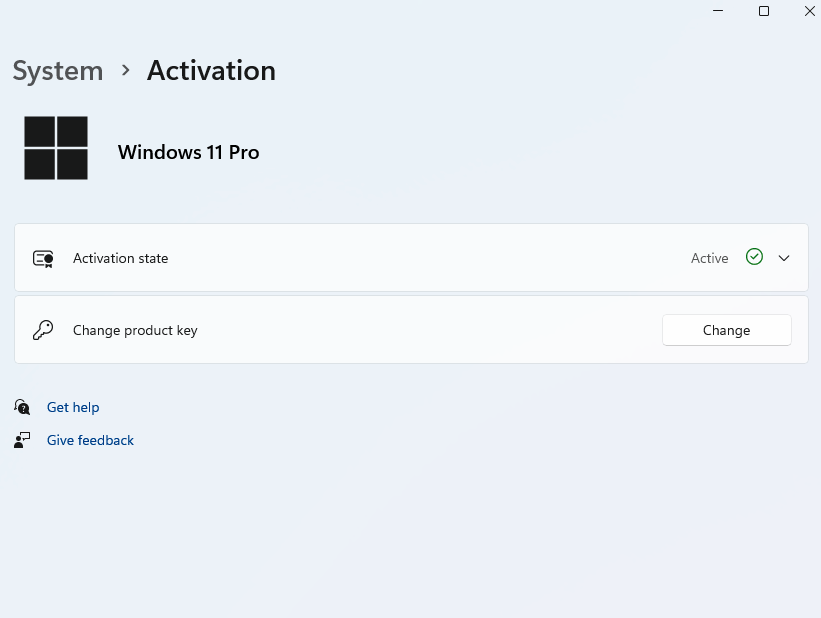
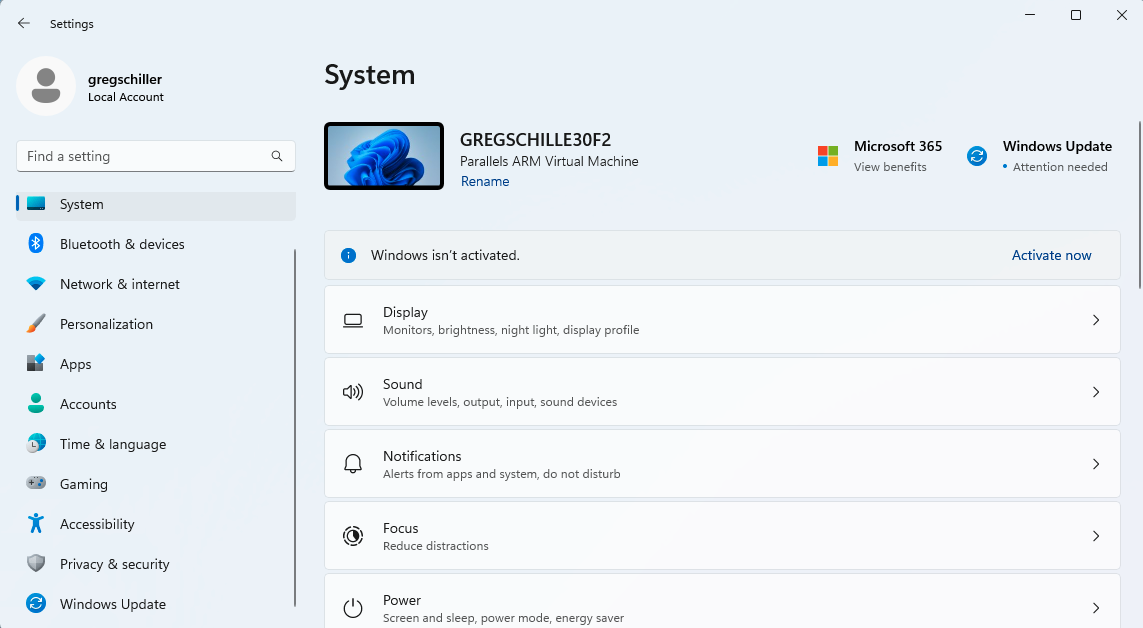
- To have full Windows functionality you will need to also purchase a Windows 11 Pro license.
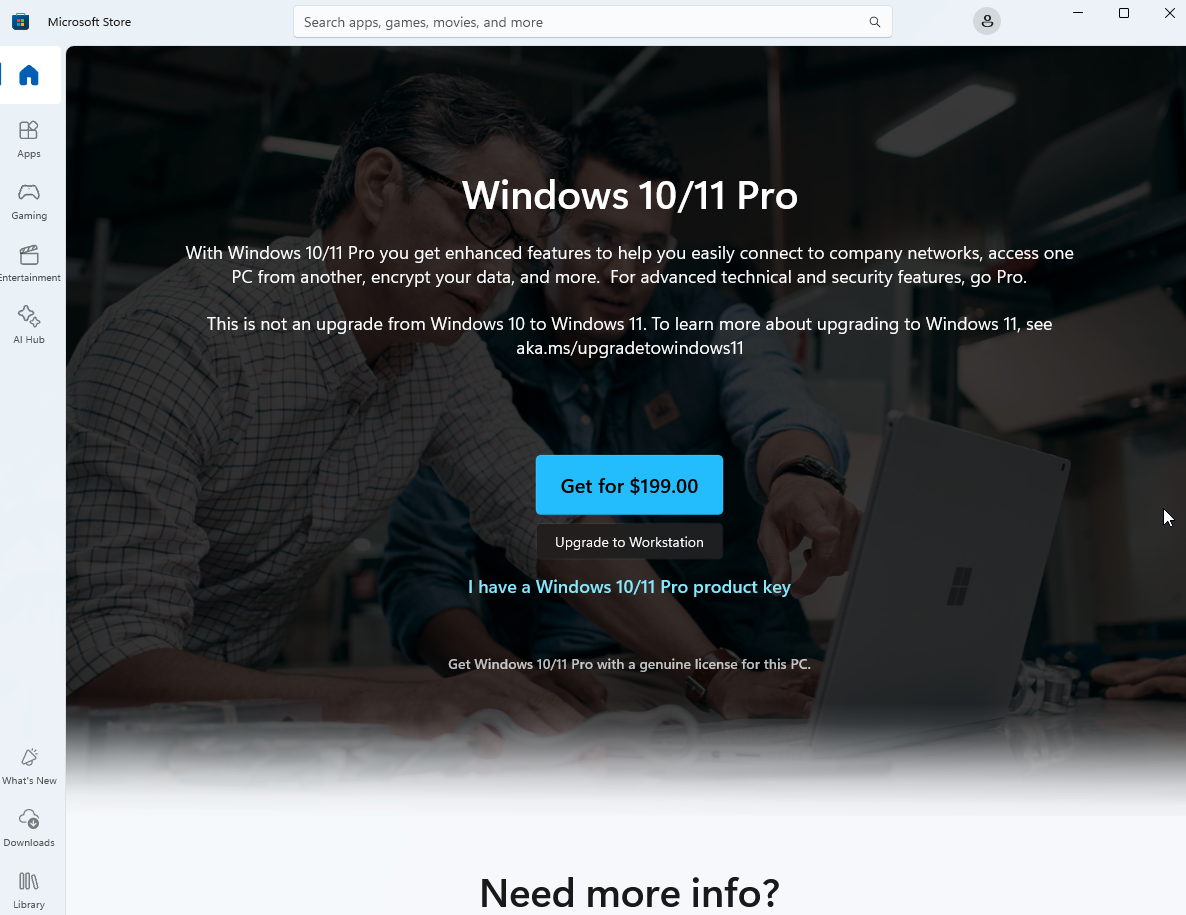
- To purchase this license you can proceed to the settings page within the Parallels Windows installation. It should provide you with a prompt letting you know that your instance of Windows isn’t active and give you the option to activate.
- Once you select that option it will take you to a Microsoft store page giving you the option to purchase a Windows 11 Pro license. Select the blue button labeled ‘Get for $199.00.’
- This will open a window prompting you to sign in to a personal Microsoft account and then provide payment information.
- Once the purchase is complete you will have successfully activated your Windows license, and this will be displayed in your System menu.